By admin on Aug 28, 2012 in Events, Remodeling | 0 Comments
Fazzolari Custom Homes & Renovations will be showcasing a major Ridgefield home renovation in the 2012 Remodeled Homes Tour, which is September 22nd – 23rd throughout Clark County. Fazzolari along with other area renovation companies are showing freshly remodeled homes during the event, which is part of the 2012 Parade […] Continue Reading…
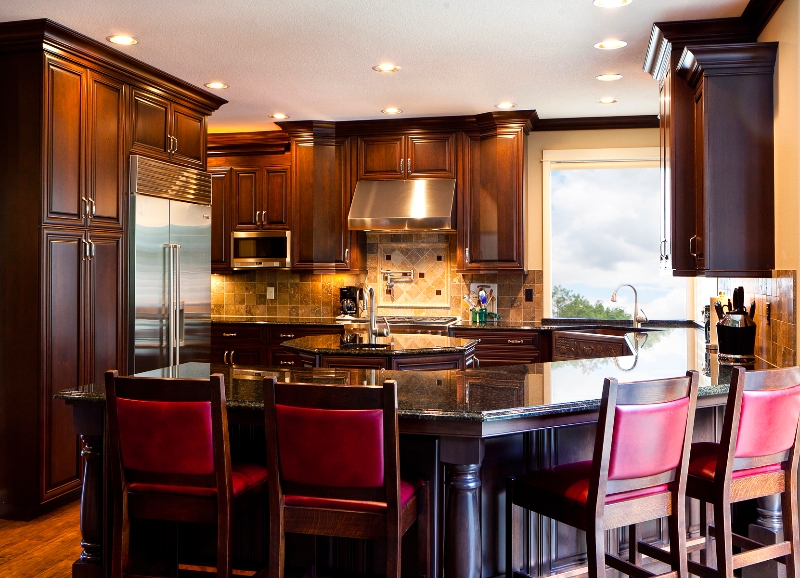
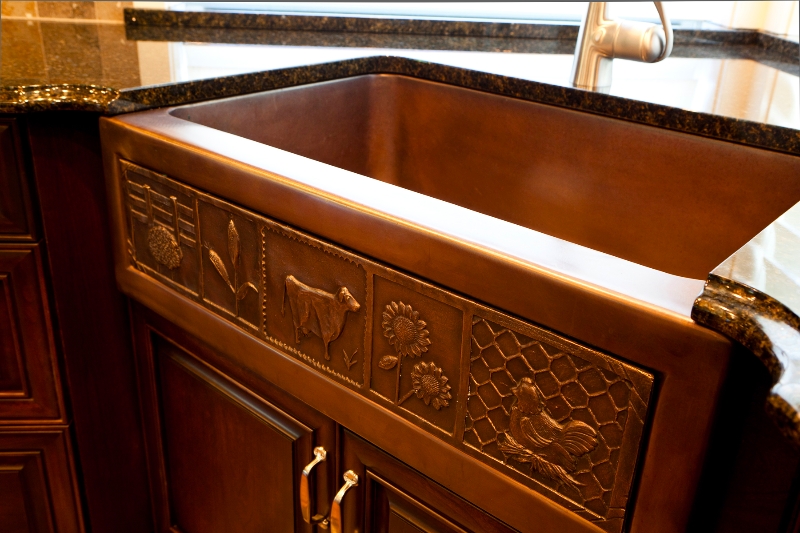
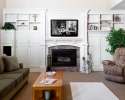
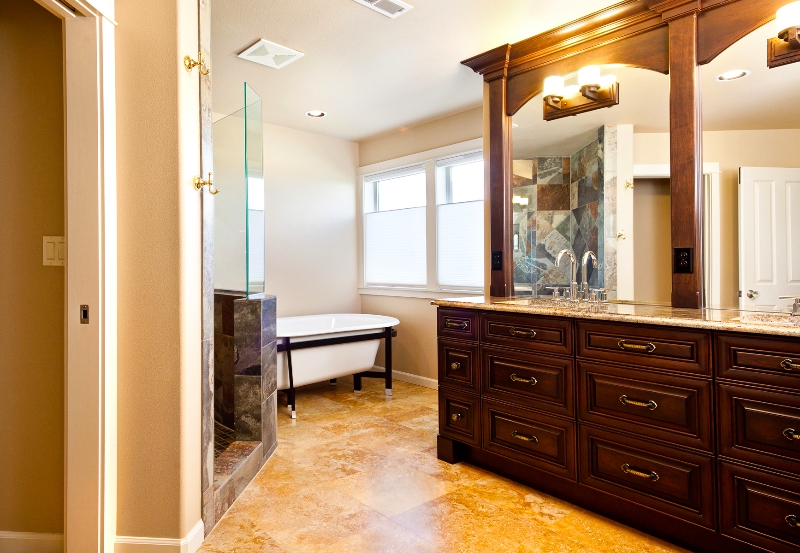
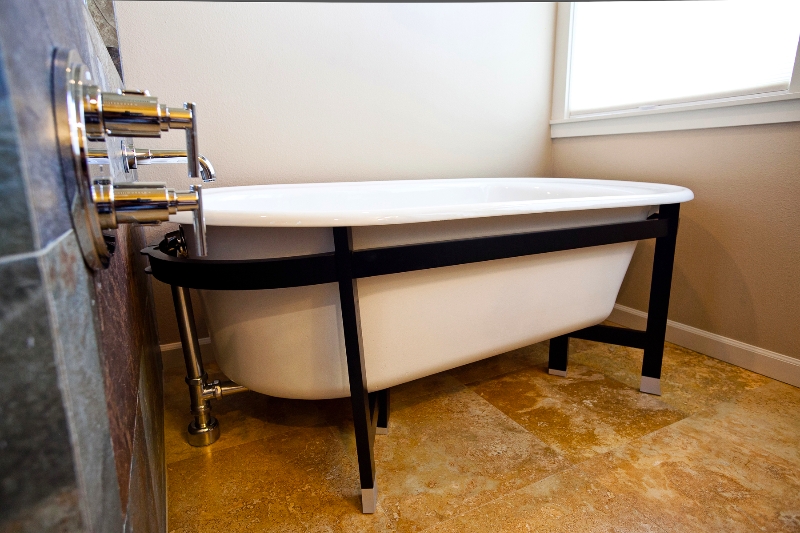
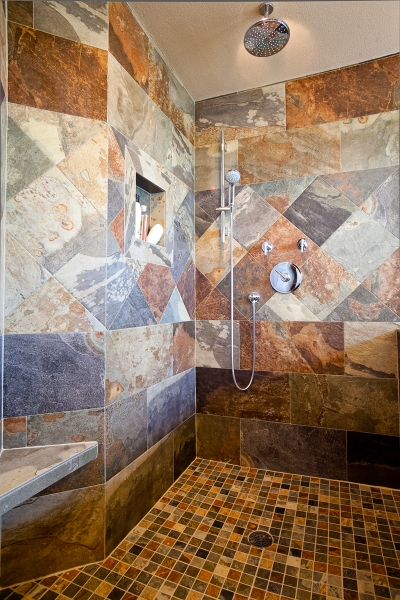
By admin on Jul 25, 2012 in Bathroom, Before and After, Kitchens | 0 Comments
In late 2011, we performed a facelift to a former Parade of Homes house on Prune Hill in Camas. The finishes in the home were beautiful, but the new owners wanted their […] Continue Reading…
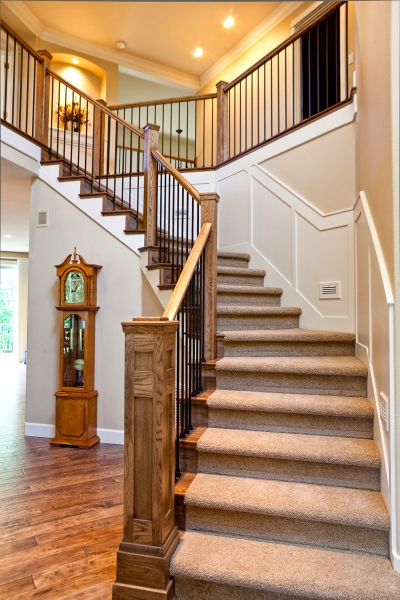
By admin on Jun 19, 2012 in Custom Homes | 0 Comments
The Battle Ground, WA new home we completed at the end of 2011 really shows what you can do when you’re trying to build a dream home on a budget. I’m not saying these owners had a limited budget, but they did not have an unlimited budget.
This 3-bedroom, […] Continue Reading…
By admin on Jun 14, 2012 in Remodeling, Tips and Tricks | 0 Comments
If you’ve ever been through a large remodeling project you know there are always surprises behind the walls, under the floors and even in the new cabinets and fixtures. Hundreds of decisions need to be made, finishes need to be checked and everyone needs to be up to date […] Continue Reading…
By admin on Jun 8, 2012 in Fazzolari Feature Stories, Kitchens, Remodeling, Video | 0 Comments
We remodeled the kitchen of a Camas, WA, home on Prune Hill while the owners were in China. It turned out beautifully.
By admin on Apr 26, 2012 in Drawings, Events | 0 Comments
For the third year in a row Fazzolari Custom Homes and Renovations is participating in the Clark Public Utilities Home & Garden Idea Fair at the Fairgrounds from Friday, April 27 to Sunday, April 29. This free event draws more than 20,000 people and features primarily Southwest Washington vendors.
There are more […] Continue Reading…
By admin on Dec 7, 2011 in Holidays, Outdoors | 0 Comments
Updated for Christmas 2012.
The nights are dark and cold. The leftover Thanksgiving turkey is long gone. Regular season college football is completed. What to do now? Face the fact that Christmas is coming and go see some festive light displays.
For many of us, walking down our own street can provide […] Continue Reading…
By admin on Nov 28, 2011 in Holidays, Lighting, Tips and Tricks | 0 Comments
With Thanksgiving behind us and Hanukkah, Christmas, and New Year’s right around the corner, we’re in the thick of the winter holiday season. If you are among the nearly 90% of Americans who use decorative lights during the holidays and you WERE NOT climbing all over your house hanging […] Continue Reading…
By admin on Oct 18, 2011 in Before and After, Tips and Tricks | 0 Comments
With the abundant rain in the Pacific Northwest, it is not surprising how often homeowners complain about leaky, wet basements. We recently worked with a client in Southeast Portland who was having issues with water leaks in the basement of his home.
The house was originally built in the 1920s, […] Continue Reading…
By admin on Aug 30, 2011 in Coupons, Events | 0 Comments
Fazzolari Custom Homes and Renovations is going to make another appearance at the 2011 Portland Fall Home and Garden Show. It’s fun for us to get out and meet people from across the Portland metro area and to show off some of the projects we’ve been up to in […] Continue Reading…